Welcome to our short tour through the functions of Eco:Map! You will learn how you can save your discovered plants to a device and how you can transfer the collected data to your computer at home.
❶
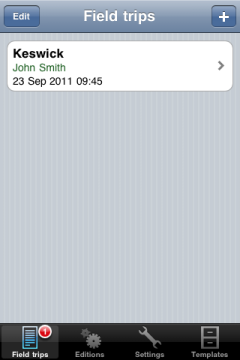
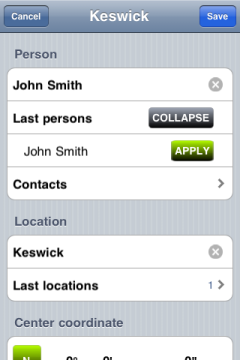
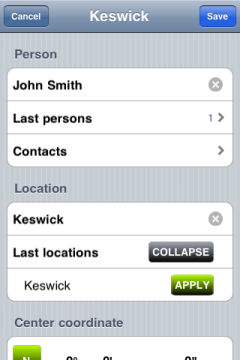
Before you can start you have to complete some administrative work and create a field trip file. A field trip file includes a list of all plants which the botanist maps on one specific day and in one specific location. For our example field trip we have chosen the small town of Keswick in the Lake District/UK. The botanist's name is John Smith. By tapping the menu entry Contacts and Last Persons you have access to your device's Contacts folder and to the last 10 persons that did a field trip. Press on Last locations if you want to enter one of the 10 last locations you've recorded.
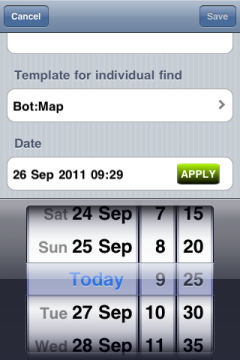
Date and time are recorded automatically but you can modify a field trip's date by pressing Date.
❷
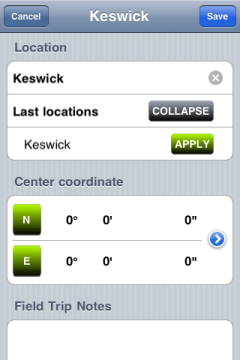
Users that need a center coordinate can enter it here.
Hint: In the
GPS settings you have
to switch on
Show center coordinate.
There you also find the parameter
Show coordinates in nautic format:
This controls whether coordinates are displayed in nautic or decimal form.
❸
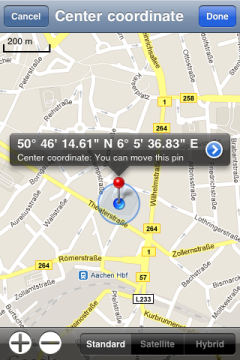
Touching the blue button opens a map that assigns the coordinates of the current location to the center coordinate unless you have already changed it. Press the red pin if you want to modify the center coordinate.
- If you want to enter the coordinate press the blue button.
- Changing the center coordinate is possible by touching the red pin: Wait for a short while until this pin jumps up indicating that you can move it.
❹
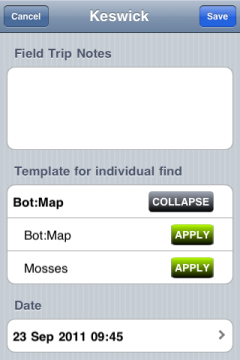
Having at least created one template you see the section Template for individual find. Choose the template for this field trip. Using Eco:Map means the Eco:Map's preset attributes (Individual find dialogue) are displayed.
